Showing posts with label decor. Show all posts

Saturday, October 8, 2011

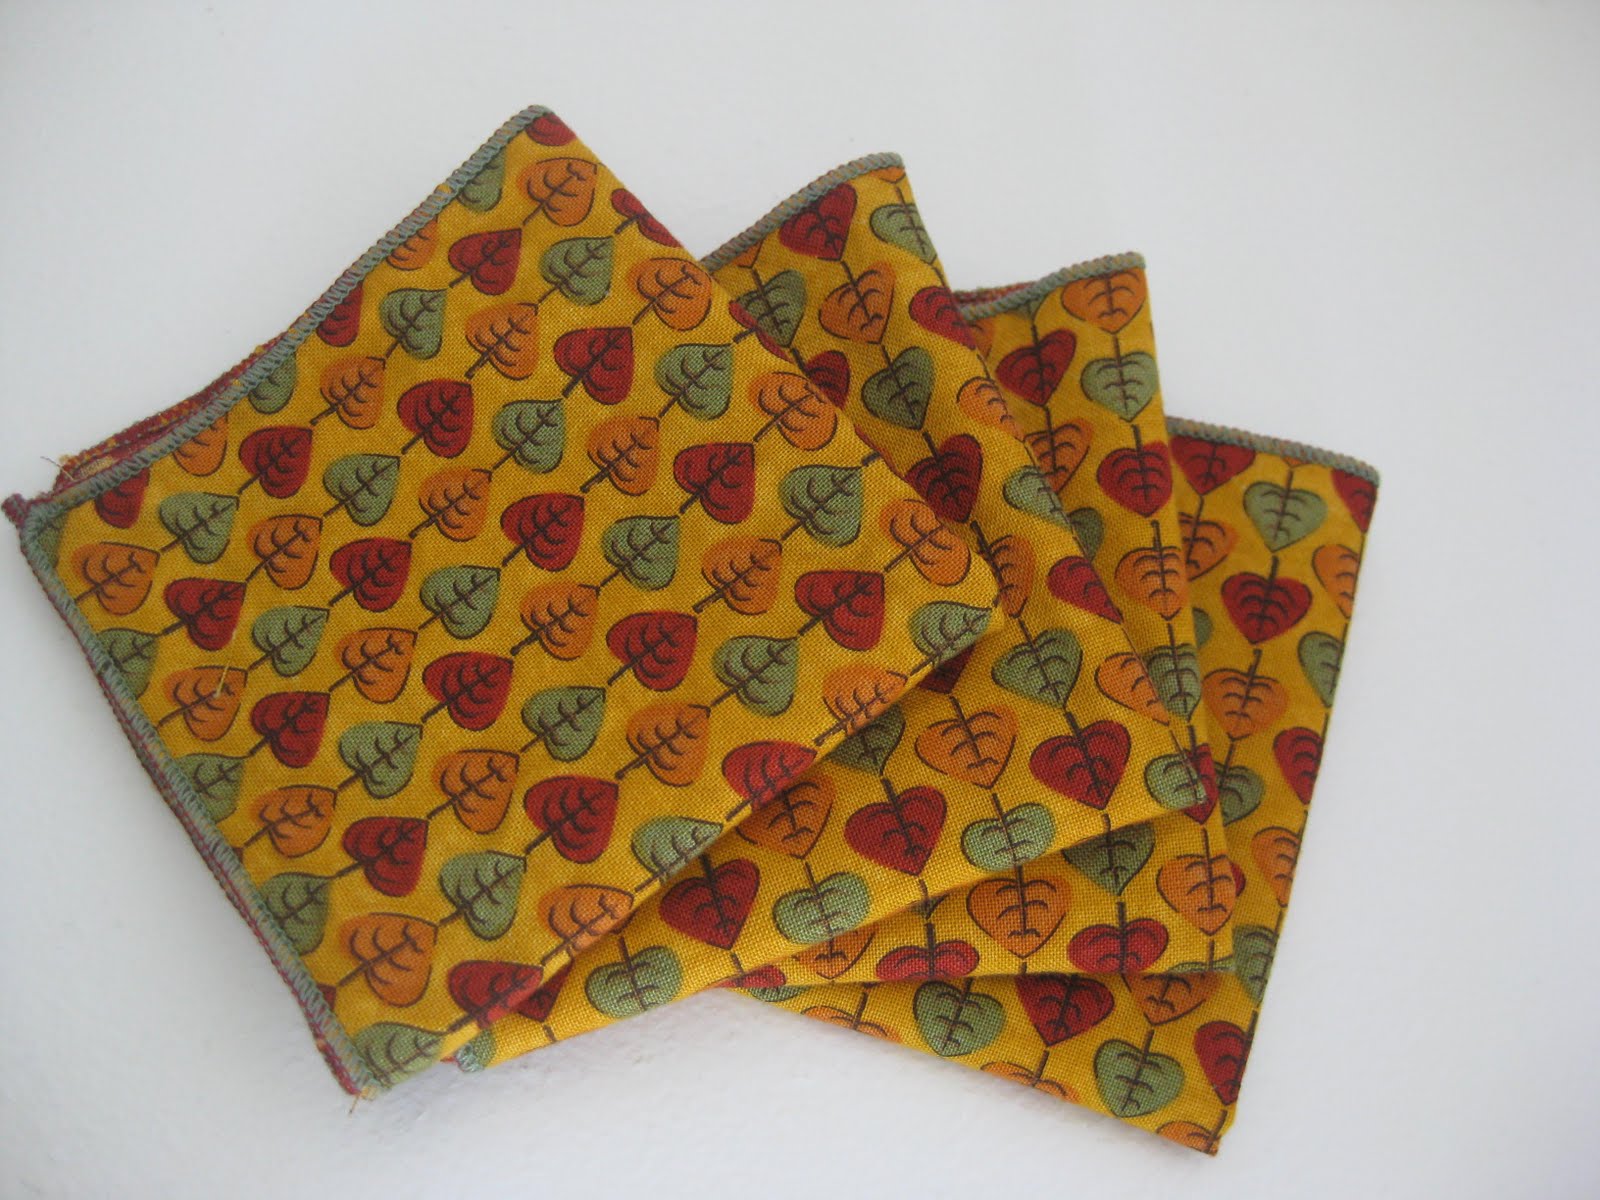
Falls Leaves Napkins

I just put a new set of napkins in the shop. Just right for autumn.

Thursday, April 21, 2011

Birthday Banner

I made this for my daughter's birthday.
The really cool thing about this banner is that one side is a regular, super cute banner.  On the other side, I put some vinyl on each of the triangles so that it is a multi-use banner.   It was my very own idea.  The photo makes the vinyl really noticeable.  In real life, it's not that shiny.  I can slide anything I want to fit the theme of the day in the little sleeves.  It can say "Matilda" one day and "Francis" the next.  I can put pictures of Tinkerbell in it for fairy parties or pictures of chicks and bunnies to celebrate Easter. 

Wednesday, March 23, 2011

Upcycled Trash Can Tutorial

I used some trash to make some trash cans. These are for my kids rooms.
I started with an empty container.  This is the Costco size.
I used two pages from a book that has seen better days.  For the Princess Can I used an outdated calendar.
I cut the pages to size.
Luckily a little boy ran through at the exact moment I was lining this up and told me he wanted the Mater side out. I put little pieces of rolled tape behind the four corners.
I placed the other piece of paper on the opposite side.  I also used a small strip from the scraps between each side because they didn't quite cover it.
I put a layer of clear contact paper over that.
That's it.

Thursday, February 24, 2011

Pile of Fabric Strips

I received this pile of fabric strips. It's a continuous strip of different fabrics sewn together with seams inside. (You know, like how we used to make scrunchies back when scrunchies were still made. Just a REALLY long one.) I think it was intended to be used for a crocheted rug. I was pretty sure I could figure out something to do with it. I did.
Cute huh?


I call these Love Buds.

Thursday, February 3, 2011

Thank Heaven for Little Boys...


There is a little boy that lives at my house.
Oh how I love finding his little boy finishing touches.

Tuesday, February 1, 2011

Faux Chenille Blanket


I had a few days that I wasn't feeling well. It's hard for me to sit and just rest. My mind thinks of lots of things that should be done and my fingers don't like to be still. Luckily, I found a project that helped me stay down - well sitting anyway. This blanket takes some time to make - which was to my advantage. It's not hard but it is a little tedious but oh, it is so beautiful! And, because it gets washed a few times at the end anyway, it didn't matter that I made it while I was sick! Or that I used upcycled fabric. Who can tell after a few washings? - I gave it to my cousin and her new baby. I used a skirt that our grandma wore for one of the layers so of course I told her where the fabric came from. I also used some pieces that were a few large pieces instead of one block of fabric for two of the layers and you can't tell a difference between them and the layers that were full sheets of fabric.

So, I found this project with a complete tutorial at Made. Hop on over there for really beautiful photos and easy to follow, step by step directions. And look at everything else she has to offer. I've spent hours and hours looking at her tutorials and wonderful photos. You won't be disappointed for stopping by!

Tuesday, January 25, 2011

A Little Bit of Country


A little bit of country...in my dining room.

Monday, January 17, 2011

White Wreath


I have a really big wall in my living room. What could I possibly put there? I found a cute do-it-yourself wreath at luvinthemommyhood. When I saw it I had one of those moments that I just knew that this particular thing was going to be in my life. It filled a little part of my soul. I used the link to the tutorial on her page and then made it my own. The tutorial used a plate for the initial size of the wreath. I used two pieces of foam board put together and then had to tack some more on the sides. I made my wreath maybe five-ish feet wide (and tall). That meant I had to make my leaves bigger than the tutorial (I did two leaves per sheet of paper) and I also filled it in more and placed my leaves on with the fold pointing the leaves down instead of out -- I hope that makes sense.

It only took a few hours and I am really happy with it! It's surprising how small it looks on that wall even though it felt huge carrying across the house and hanging it on that wall.
Now I am searching for a GIANT vintage type map for our conversation room. I like this one from Amazon but the reviews about how it gets shipped makes me not so excited to try.
This one is even better but it doesn't have any reviews and is about $280 more expensive than the other.

I keep wondering if there is a way I could make my own map like that. How cool/fun would that be?! Any ideas on how to go about making a vintage looking map? Or even a good place that sells maps like this?

Monday, December 27, 2010

Building Birthday

We had a "Building Birthday" at our house. I made a state capital building cake - which would have been wrapped in a beautiful layer of fondant and had fondant windows put in if I hadn't just moved into our new house and been watching three extra children for four days. I'm still proud of it but it would have been incredible if I had finished it.

For some decorations I made some buildings out of Mega Bloks. I printed pictures of buildings my son would recognize on sticker paper, lined them up on the Bloks and cut out a portion of the picture for each block. I cut a small amount off between blocks so the stickers wouldn't be hanging off the edge. To help them last a little longer, I added a layer of Mod Podge on top. Each building was built in with a different color Blok. Along with the state capital, there was a temple, a smoke stack and our new house for him - and the rest of the guests - to build.

Friday, July 23, 2010

Minimalism


We have cleared everything out of house that is not necessary for daily life and I love it. Everything stays much tidier and it takes less than fifteen minutes to get the entire house picked up and ready for the day. I love it. It has freed up so much of my time, energy and thoughts. I actually ran out of things to do yesterday and was able to relax without feeling guilty and without having something sitting in the back of my mind waiting to get done. It's been years since that has happened. This is the way I want to live.

Monday, June 28, 2010

Towel Rack


We have this towel rack in both our bathrooms. I like it because there is room for four towels to hang neatly in one small space. The bars move separately so it's easy to get any particular towel whether it's on the top, the bottom or somewhere in between. It can be purchased from Ikea for $14.99.

Monday, April 26, 2010

Kid Projects Displayed


We have a lot of projects the kids make at story time, church and school. They are often not just flat peices of paper. The kids are proud of them and don't want to get rid of them right away. We made these display boards to keep them in one place. When it's full, they have to decide which item to take off, take a photograph of and then get rid of so that the new one can be put on.


For the blue board we used: Foam board, the sham from his comforter set, red ribbon.
For the pink board we used: Backing from a broken poster frame, sequin fabric, purple ribbon

We used hot glue to glue the fabric to the boards. The ribbons were glued 5" apart and were woven to hold the items better.


Wednesday, April 14, 2010

Flying Butterflies

Aren't these cute?!