Thursday, January 27, 2011
Lime Stripe Napkins
I just got so excited about these that I couldn't help but post them! They are my favorite napkins so far. Look at them!

Tuesday, January 25, 2011
Thursday, January 20, 2011
Second Christmas
My wonderful husband got me one of these for Christmas.
The first time I tried to use it, I realized I was going to need more thread. A lot more thread. So I ordered some from the owner of Gabby Girl's Glam. It actually ordered it from her other shop Dana Cade Creations but the thread was the only thing listed there and I cleaned her out! But check out Gabby Girl's Glam if you like your pooch to be perfectly accessorized. She did say that she may have some more thread for sale soon so it wouldn't hurt to look there or contact her on etsy if you want to know when she has more ready to sell. She was wonderful to work with and went out of her way to make sure I was happy -- and I was! How could I not be? I found this on my doorstep.

It was like a second Christmas!

"It's a beautiful sight. I'm happy tonight..."


And it keeps getting better because I got to make these because of all this. I just love the holidays!

The first time I tried to use it, I realized I was going to need more thread. A lot more thread. So I ordered some from the owner of Gabby Girl's Glam. It actually ordered it from her other shop Dana Cade Creations but the thread was the only thing listed there and I cleaned her out! But check out Gabby Girl's Glam if you like your pooch to be perfectly accessorized. She did say that she may have some more thread for sale soon so it wouldn't hurt to look there or contact her on etsy if you want to know when she has more ready to sell. She was wonderful to work with and went out of her way to make sure I was happy -- and I was! How could I not be? I found this on my doorstep.
It was like a second Christmas!
"It's a beautiful sight. I'm happy tonight..."
And it keeps getting better because I got to make these because of all this. I just love the holidays!
Monday, January 17, 2011
White Wreath
I have a really big wall in my living room. What could I possibly put there? I found a cute do-it-yourself wreath at luvinthemommyhood. When I saw it I had one of those moments that I just knew that this particular thing was going to be in my life. It filled a little part of my soul. I used the link to the tutorial on her page and then made it my own. The tutorial used a plate for the initial size of the wreath. I used two pieces of foam board put together and then had to tack some more on the sides. I made my wreath maybe five-ish feet wide (and tall). That meant I had to make my leaves bigger than the tutorial (I did two leaves per sheet of paper) and I also filled it in more and placed my leaves on with the fold pointing the leaves down instead of out -- I hope that makes sense.
It only took a few hours and I am really happy with it! It's surprising how small it looks on that wall even though it felt huge carrying across the house and hanging it on that wall.
Now I am searching for a GIANT vintage type map for our conversation room. I like this one from Amazon but the reviews about how it gets shipped makes me not so excited to try.

This one is even better but it doesn't have any reviews and is about $280 more expensive than the other.
I keep wondering if there is a way I could make my own map like that. How cool/fun would that be?! Any ideas on how to go about making a vintage looking map? Or even a good place that sells maps like this?
Friday, January 14, 2011
Making Pasta
I make my own pasta. This is how I do it:
To make two pounds of pasta I put 3/4 cups of wheat flour and 3 1/4 cups of white flour together on my (washed) counter in a pile. I then make a large well in the center and crack six eggs in it.
Mix it all together with a clean fork. If it's too dry, I add a little water.
Knead it until it is smooth. I seperate my dough into several balls and knead them individually because I think it works better and then it's already sectioned off when it comes time to roll it.
I put all the dough in the gallon size Ziploc bag that I intend to store my dried pasta in. Make sure to get as much air out of the bag as possible. It dries out fairly quickly.
Let it rest for 20 minutes. I use an Imperia pasta roller to roll it and cut it.
If you don't have a pasta roller, you just need to roll your dough on a floured surface with a rolling pin and then cut it with a knife. The trick is to get the dough thin enough. We're talking paper thin here.
I flatten one of the balls a bit with my hands. (Keep the other balls of dough covered tightly in the bag.) I put some flour on it to keep it from sticking to the roller and roll on the biggest setting. I make sure there is enough flour on the dough and roll it through again. I only roll it on every other setting to save time and it works fine. I usually cut the sheet of pasta at some point during the rolling because it gets longer than I like to work with.

When it's all rolled out to the thinnest setting I run it through the alfredo or spaghetti attachment.

I boil half of it for three or four minutes. Fresh pasta takes less time to cook than store bought dried pasta.

The other half I hang to dry like this:
until I get - or make - something like this:
Hey, if we're dreaming...or this:

The last one actually reminds me of the Ikea towel rack That might work really well to hang in my pantry. It would fold up neat and tidy when I'm not using and no one would even know I was drying pasta in my pantry. It would be my little secret...
I need your help. I am looking for a really good marinara/spaghetti sauce recipe from any of you. I will hopefully have lots and lots of tomatoes this summer from my garden and would love to make my own sauce. The problem is that I have yet to find a homemade sauce my family likes. I'm calling for all recipes from far and wide. I'll try them all until I find the one we are looking for!
To make two pounds of pasta I put 3/4 cups of wheat flour and 3 1/4 cups of white flour together on my (washed) counter in a pile. I then make a large well in the center and crack six eggs in it.
Mix it all together with a clean fork. If it's too dry, I add a little water.
Knead it until it is smooth. I seperate my dough into several balls and knead them individually because I think it works better and then it's already sectioned off when it comes time to roll it.
I put all the dough in the gallon size Ziploc bag that I intend to store my dried pasta in. Make sure to get as much air out of the bag as possible. It dries out fairly quickly.
Let it rest for 20 minutes. I use an Imperia pasta roller to roll it and cut it.
If you don't have a pasta roller, you just need to roll your dough on a floured surface with a rolling pin and then cut it with a knife. The trick is to get the dough thin enough. We're talking paper thin here.
I flatten one of the balls a bit with my hands. (Keep the other balls of dough covered tightly in the bag.) I put some flour on it to keep it from sticking to the roller and roll on the biggest setting. I make sure there is enough flour on the dough and roll it through again. I only roll it on every other setting to save time and it works fine. I usually cut the sheet of pasta at some point during the rolling because it gets longer than I like to work with.
When it's all rolled out to the thinnest setting I run it through the alfredo or spaghetti attachment.
I boil half of it for three or four minutes. Fresh pasta takes less time to cook than store bought dried pasta.
The other half I hang to dry like this:
until I get - or make - something like this:
Hey, if we're dreaming...or this:
The last one actually reminds me of the Ikea towel rack That might work really well to hang in my pantry. It would fold up neat and tidy when I'm not using and no one would even know I was drying pasta in my pantry. It would be my little secret...
I need your help. I am looking for a really good marinara/spaghetti sauce recipe from any of you. I will hopefully have lots and lots of tomatoes this summer from my garden and would love to make my own sauce. The problem is that I have yet to find a homemade sauce my family likes. I'm calling for all recipes from far and wide. I'll try them all until I find the one we are looking for!
Monday, January 10, 2011
TV Time Tokens
To allow my children a little more freedom in choosing when they watch TV, I made some TV Time Tokens. They choose when they watch, the tokens limit how much they watch. I made six tokens per child (with each name stamped on the back to avoid confusion). Each token is worth 30 minutes of TV time. The six tokens need to last them for one week. When they would like to watch something, they bring me a token. I set a timer that is right by the TV for 30 minutes. -In the near future, they will start being in charge of setting it also. I am all for independence and responsibility.- When the timer goes off, they either turn the TV off or give me another token. When the tokens are gone (three hours worth of watching), the TV stays off. The tokens are all returned on Saturday. In the past I have used the TV when I need a bit of uninterupted time. I still rely on this from time to time. If I'm the one that turns the TV on, they aren't required to give a token.
This system has worked even better than I thought it would. They have a tangible indicator of how much more they can watch and they are in charge of it so I don't have anything to do with when and how long they watch TV. Last week there was even a token left over.
Tuesday, January 4, 2011
How to Change a Summer T-shirt into a Winter T-shirt
We moved out of our old house in the summer. We were supposed to be between houses for a month. We had everything that wasn't neccessary put into storage. This included all the kid's winter clothes. You know how house buying goes. Summer turned to fall and we had a few really cold days - light snow even. My kids were still in shorts! We had plenty of winter clothes for them but they were in the very back of the storage unit. To help tide us over, I added a second sleeve under a t-shirt. At least the kid had sleeves now! 
The shirt on the left is a shirt that had enough stains on it that we wouldn't be using it again. The sleeves aren't as noticable for stains and I also figured that if they were white, they would end out looking like that after one wear on this little boy anyway. The shirt on the right is the shirt I was enhancing.
I traced another sleeve, matching the hem of the sleeve to the hem of the shirt so that I wouldn't have to hem the new sleeve. (The sewing machine was also in the storage unit so the less sewing I had to do, the easier.) I also made sure that the top of the sleeve was similar to the top of the sleeve already on the shirt so it wouldn't be bunchy.
I flipped the "pattern sleeve" over and traced the other side. Now I have this ready to cut out. I cut through both layers so I had two sleeve pieces.
I matched right sides together on each sleeve and handsewed the side together. If I had a sewing machine, I would have used that.
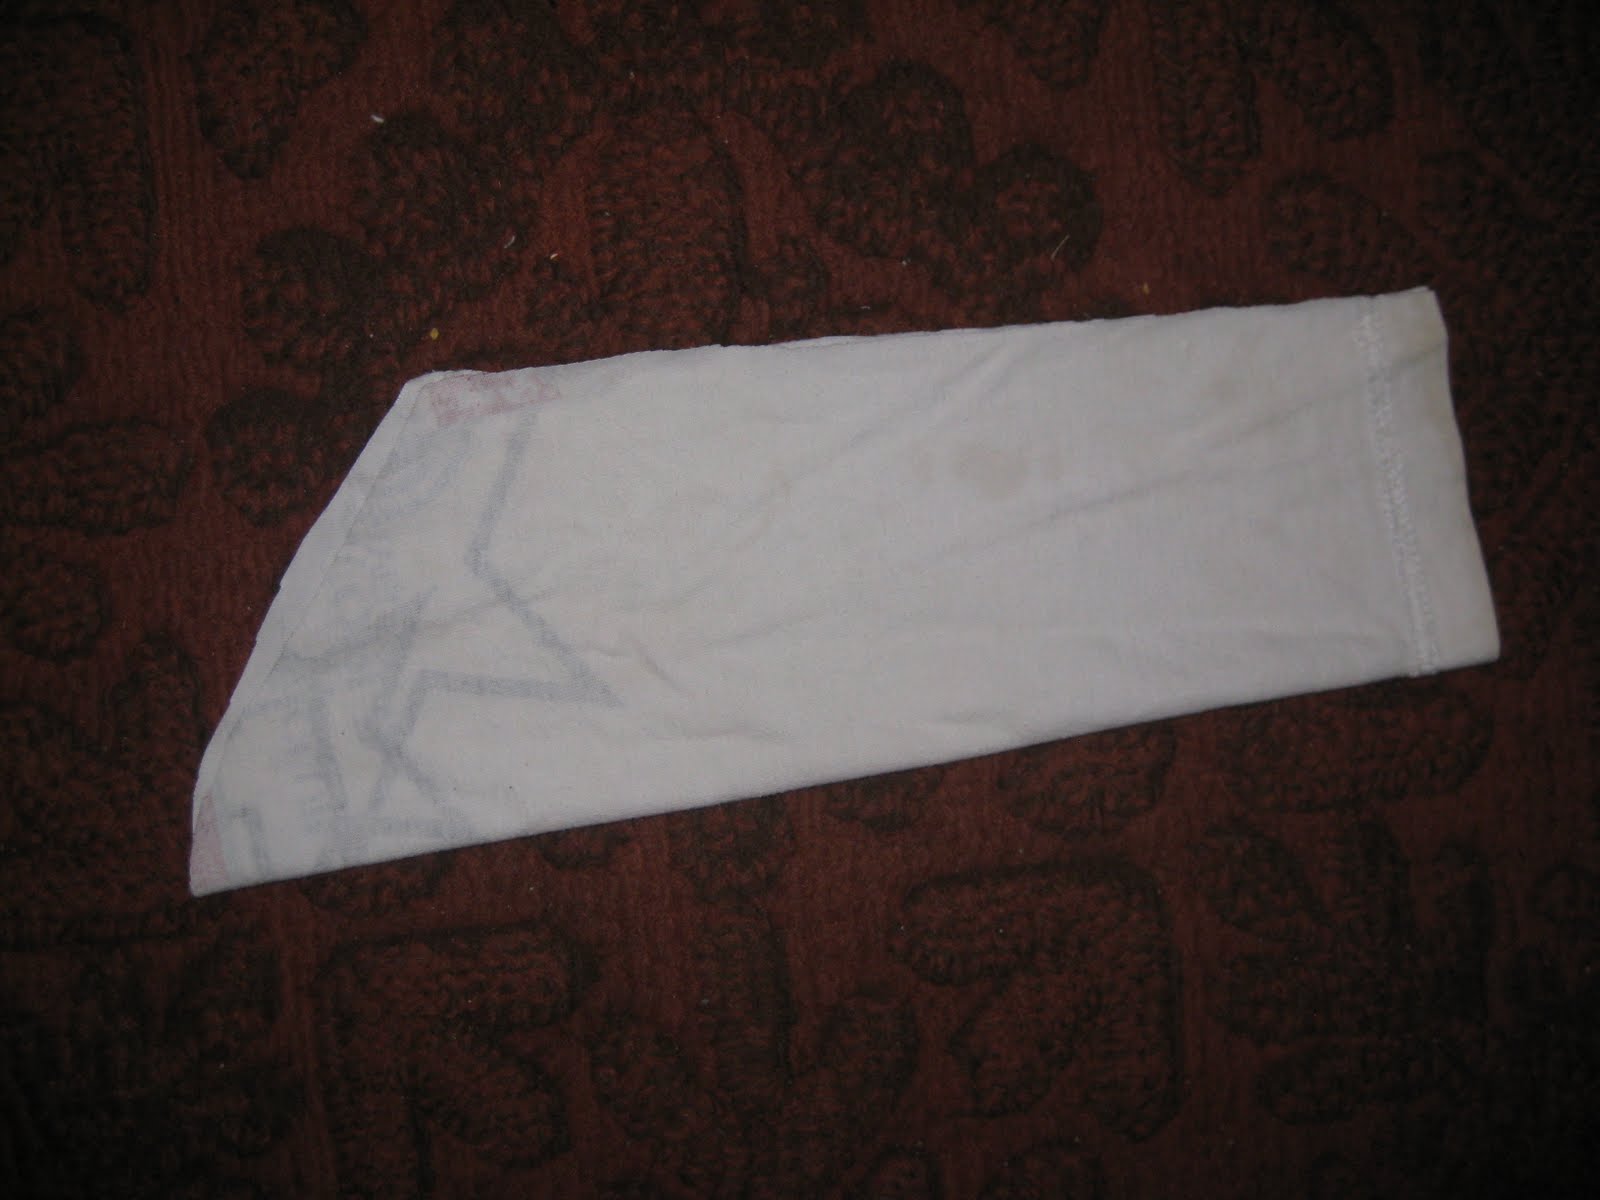
You will notice that this sleeve has some of the print on it from the original shirt. I made sure that it would be covered by the sleeve of the summer shirt.
I kept the sleeve inside out and slipped it onto the shirt that was also inside out. I matched the edge of the white sleeve with the serging on the shirt sleeve. I made sure the seams that run down the arm matched and sewed the white sleeve to the serging.
That's it! I think it looks nice and I didn't feel like my kid was dressed for the beach in the snow. He didn't care but I did.
The shirt on the left is a shirt that had enough stains on it that we wouldn't be using it again. The sleeves aren't as noticable for stains and I also figured that if they were white, they would end out looking like that after one wear on this little boy anyway. The shirt on the right is the shirt I was enhancing.
Monday, January 3, 2011
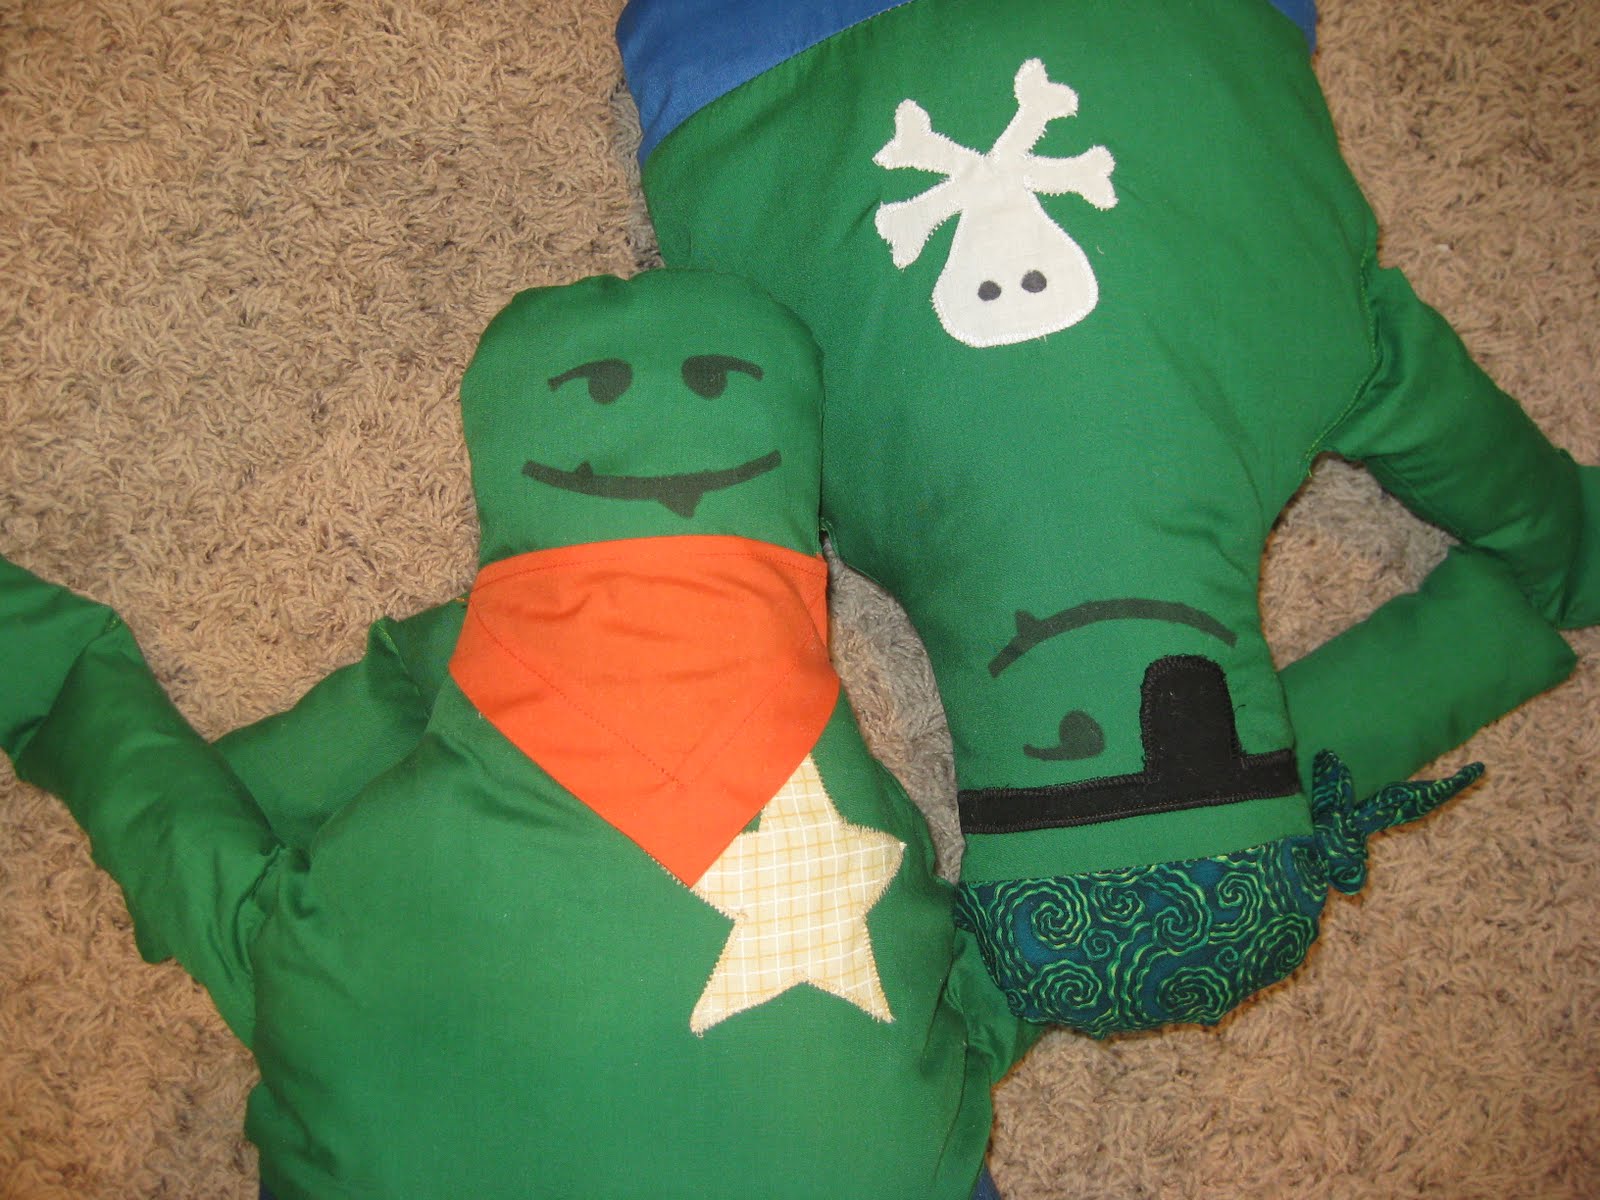
Monster Friends
Tuesday, December 28, 2010
HiHo Cherry-O!
We have a tradition of unwrapping a game and playing it as a family on Christmas Eve. This year we opened Hasbro's HiHo Cherry-O.
It worked really well for our family. It has two sets of rules. One is for a cooperative game (everyone is on the same team) the other each person plays against each other. We used the cooperative game and had a wonderful time!
It has the cutest little cherries, blueberries, oranges and apples to pick. If you spill your baskest or the dog gets into it, you have to put some back on the tree or bush - just like real harvesting! Okay, so it's not ture to life but the game is great for counting practice and doesn't require reading so it was a good fit for our family that includes a three year old and a four year old. HiHo Cherry-O has a 4.5 out of 5 star rating on Amazon.com (which is where I got both of these photos and the actual game). As I type this, the game costs $7.99 and has free Super Saver Shipping.
It worked really well for our family. It has two sets of rules. One is for a cooperative game (everyone is on the same team) the other each person plays against each other. We used the cooperative game and had a wonderful time!
It has the cutest little cherries, blueberries, oranges and apples to pick. If you spill your baskest or the dog gets into it, you have to put some back on the tree or bush - just like real harvesting! Okay, so it's not ture to life but the game is great for counting practice and doesn't require reading so it was a good fit for our family that includes a three year old and a four year old. HiHo Cherry-O has a 4.5 out of 5 star rating on Amazon.com (which is where I got both of these photos and the actual game). As I type this, the game costs $7.99 and has free Super Saver Shipping.
Subscribe to:
Posts (Atom)