Showing posts with label green. Show all posts
Thursday, May 17, 2012
Make it Last a Little Longer #3
This shirt was too short on the tummy and the arms. I ruched the sleeves and added a skirt to make it a three tiered maxi dress.
Labels:
girl,
girl style,
green,
holidays,
make it last a little longer,
sewing,
upcycle
Tuesday, December 13, 2011
Make it Last a Little Longer #2
Most of the children's clothes that get outgrown at our house get passed on to someone else that can use them. These jammies could just not be passed on with the bottoms looking like this.
The other knee looked slightly better. They seem doomed for the landfill don't they? Not so! They are salevagable! I've been using this tutorial to turn the shirt and pants into little boy boxer briefs. I love them!
As you can see, I didn't pay quite enough attention to the tutorial. I cut out one of the legs on the wrong side of the fabric. Luckily I had another pair of ripped jammie bottoms in blue so that will be the other leg. I will aslo use the elastic from the original jammie bottoms for the elastic in the undies. I had to put this project on hold because I had pressing projects for a birthday and Christmas but there it is.
Labels:
boy,
green,
make it last a little longer,
sewing
Friday, November 4, 2011
Water Bottle Soap Molds
I think I can find a use for anything. I try hard not to because then I end out saving stuff that I will never get around to making so it really isn't useful. I end out saving trash. This is a time when I did end out using my trash for something useful - and it can still be recycled when I'm done. I cut the top off a water bottle (this one is actually a milk container but it works the same) and poured my soap in and put it to bed. After a couple of days, I had this:
I used a blade to carefully cut the plastic off the soap,
sliced it up and put it away to cure.
I used a blade to carefully cut the plastic off the soap,
sliced it up and put it away to cure.
Friday, October 28, 2011
Unconsume
I read an interesting blog post called Noted: What it Means to Unconsume. It's short and I think using what you have as long as you can just makes sense.
From that blog post, went to the Unconsumption tumblr and found these
Vintage Suitcase Drawers

I like the challenge of using what I have to make what I need. It's a great way to get my creativity fix. I always loved those times in school when the teacher would hand you a pile of junk and tell you to make a bridge or your name out of it. I always just thought it was fun. I had no idea it would also become useful.
Something to think about.
From that blog post, went to the Unconsumption tumblr and found these
Vintage Suitcase Drawers
by James Plumb
that made me swoon.
I like the challenge of using what I have to make what I need. It's a great way to get my creativity fix. I always loved those times in school when the teacher would hand you a pile of junk and tell you to make a bridge or your name out of it. I always just thought it was fun. I had no idea it would also become useful.
Something to think about.
Wednesday, March 23, 2011
Upcycled Trash Can Tutorial
I used some trash to make some trash cans. These are for my kids rooms.
I started with an empty container. This is the Costco size.
I used two pages from a book that has seen better days. For the Princess Can I used an outdated calendar.
I cut the pages to size.
Luckily a little boy ran through at the exact moment I was lining this up and told me he wanted the Mater side out. I put little pieces of rolled tape behind the four corners.
I placed the other piece of paper on the opposite side. I also used a small strip from the scraps between each side because they didn't quite cover it.
I put a layer of clear contact paper over that.
That's it.
Tuesday, March 22, 2011
How to Use Genuine Muppet Fur
My daughter was given this really neat set of magnetic wooden dolls. (Which we love.)
Not too long after that, she received this really big set.
We added the little set to the big set. We no longer needed the container the little set came in to store them so I decided to use it for something else. I used the fuzzy stuff on the top (what is that stuff anyway?) and this tutorial to make what I call a Genuine Muppet Fur Clip. Alish at Sisterstuff calls their project a Puff Ball Clip. They must not have seen a need to shell out the bucks the genuine stuff.
This is how mine turned out.
I was really happy with it and was sure my princess would be delighted! She wasn't. I put the wrong princess heart on there. Who knew?
Thursday, March 17, 2011
Birthday Maxi Dress
Do you remember the Kenny Rogers Roasters Pink Satin Curtains? I told you I did something fancy with them. I'm sure you've been on the edge of your seat waiting to find out what it was. The time has come.

This dress well used on her birthday - climbing on rocks and dirt piles and all. It had to earn every one of those wrinkles.

I made this Birthday Maxi Dress with the help of Cat On A Limb. She posted step by step directions on how to draft the pattern. I did add flutter sleeves instead of making the shrug because I didn't have enough time to make it. (While you are there, check out her tutorial on making Cherry Blossom Branches and she is having a fabulous giveaway - go quick, it ends tonight!)
| These were from a broken bracelet. |
This dress well used on her birthday - climbing on rocks and dirt piles and all. It had to earn every one of those wrinkles.
Sunday, March 6, 2011
Laundry Line
I have wanted a clothes line for a long time. It's been long enough. It's still too cold to put one in outside so...
I think it's beautiful.
Thursday, March 3, 2011
Upcycled Grocery Totes
Dana at MADE has a tutorial for reusable grocery totes made from fused together plastic grocery sacks. These are my versions of the plastic totes. It's an awesome idea and takes reusing to a whole new level.
Monday, January 17, 2011
White Wreath
I have a really big wall in my living room. What could I possibly put there? I found a cute do-it-yourself wreath at luvinthemommyhood. When I saw it I had one of those moments that I just knew that this particular thing was going to be in my life. It filled a little part of my soul. I used the link to the tutorial on her page and then made it my own. The tutorial used a plate for the initial size of the wreath. I used two pieces of foam board put together and then had to tack some more on the sides. I made my wreath maybe five-ish feet wide (and tall). That meant I had to make my leaves bigger than the tutorial (I did two leaves per sheet of paper) and I also filled it in more and placed my leaves on with the fold pointing the leaves down instead of out -- I hope that makes sense.
It only took a few hours and I am really happy with it! It's surprising how small it looks on that wall even though it felt huge carrying across the house and hanging it on that wall.
Now I am searching for a GIANT vintage type map for our conversation room. I like this one from Amazon but the reviews about how it gets shipped makes me not so excited to try.

This one is even better but it doesn't have any reviews and is about $280 more expensive than the other.
I keep wondering if there is a way I could make my own map like that. How cool/fun would that be?! Any ideas on how to go about making a vintage looking map? Or even a good place that sells maps like this?
Tuesday, January 4, 2011
How to Change a Summer T-shirt into a Winter T-shirt
We moved out of our old house in the summer. We were supposed to be between houses for a month. We had everything that wasn't neccessary put into storage. This included all the kid's winter clothes. You know how house buying goes. Summer turned to fall and we had a few really cold days - light snow even. My kids were still in shorts! We had plenty of winter clothes for them but they were in the very back of the storage unit. To help tide us over, I added a second sleeve under a t-shirt. At least the kid had sleeves now! 
The shirt on the left is a shirt that had enough stains on it that we wouldn't be using it again. The sleeves aren't as noticable for stains and I also figured that if they were white, they would end out looking like that after one wear on this little boy anyway. The shirt on the right is the shirt I was enhancing.
I traced another sleeve, matching the hem of the sleeve to the hem of the shirt so that I wouldn't have to hem the new sleeve. (The sewing machine was also in the storage unit so the less sewing I had to do, the easier.) I also made sure that the top of the sleeve was similar to the top of the sleeve already on the shirt so it wouldn't be bunchy.
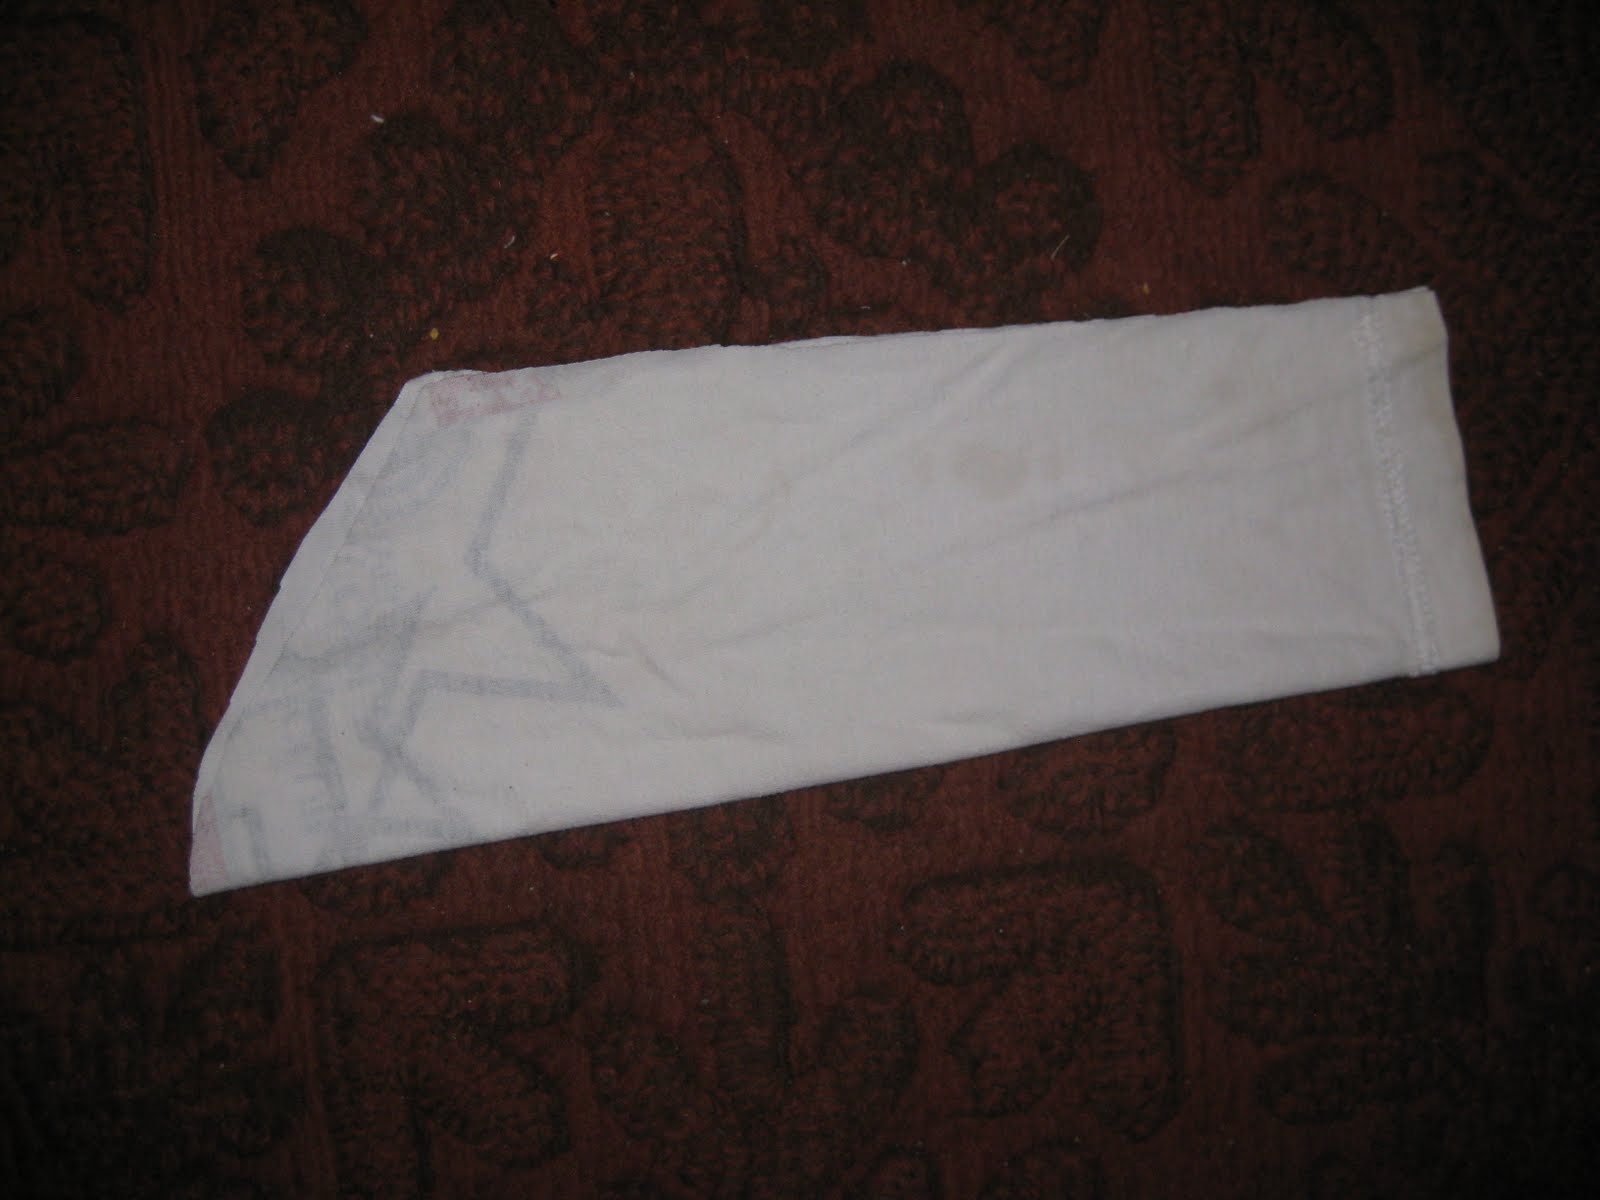
I flipped the "pattern sleeve" over and traced the other side. Now I have this ready to cut out. I cut through both layers so I had two sleeve pieces.
I matched right sides together on each sleeve and handsewed the side together. If I had a sewing machine, I would have used that.
You will notice that this sleeve has some of the print on it from the original shirt. I made sure that it would be covered by the sleeve of the summer shirt.
I kept the sleeve inside out and slipped it onto the shirt that was also inside out. I matched the edge of the white sleeve with the serging on the shirt sleeve. I made sure the seams that run down the arm matched and sewed the white sleeve to the serging.
That's it! I think it looks nice and I didn't feel like my kid was dressed for the beach in the snow. He didn't care but I did.
The shirt on the left is a shirt that had enough stains on it that we wouldn't be using it again. The sleeves aren't as noticable for stains and I also figured that if they were white, they would end out looking like that after one wear on this little boy anyway. The shirt on the right is the shirt I was enhancing.
Subscribe to:
Posts (Atom)