I used some trash to make some trash cans. These are for my kids rooms.
I started with an empty container. This is the Costco size.
I used two pages from a book that has seen better days. For the Princess Can I used an outdated calendar.
I cut the pages to size.
Luckily a little boy ran through at the exact moment I was lining this up and told me he wanted the Mater side out. I put little pieces of rolled tape behind the four corners.
I placed the other piece of paper on the opposite side. I also used a small strip from the scraps between each side because they didn't quite cover it.
I put a layer of clear contact paper over that.
That's it.
Showing posts with label tutorial. Show all posts
Wednesday, March 23, 2011
Monday, February 14, 2011
When Life (or the Food Co-op) Gives You Lemons...
I got 10 lemons from the food co-op and my mom was about to toss her five out so I grabbed them. My children love lemonade so I made lemonade. I've only made it from concentrate before so I was happy to try it fresh.
I cut the lemons in half.
I have an automatic juicer but I lent it to my sister when she had a million and a half apples to deal with so I had to borrow my mom's not so automatic juicer. In the end, because I only had 15 lemons, it was probably just as fast to do it this way because I didn't have to peel them all. I first squeezed as much juice as I could out of a half over the top of the juicer to collect any seeds that may have fallen out and then I stuck it on the juicer and pushed while twisting it back and forth.
While I was doing this, I was thinking of an episode of Caillou where he makes juice with his grandma. I think they had a grapefruit and a lemon they were going to use. What kid wants to drink grapefruit and lemon juice?! Good thing Caillou decided he wanted orange in it too. Really, I was thinking that I wished I had paid more attention to the show so I would know the proper way to use the juicer. It worked out okay though because as I was thinking those deep thought about a children's educational cartoon these
turned into these
There were a few times when the juicer started looking like this:
so I emptied it out in my compost bucket.
Next I disolved sugar in some boiling water (1:1)
to create a syrup. This was supposed to make it so the sugar didn't drop to the bottom. It worked much better than just adding straight sugar.
I then added the same amount of lemon juice to the syrup (1 part sugar, 1 part water, 1 part lemon juice) I also tried a bit of the straight lemon juice to see if I could taste a difference between fresh and concentrate. :{ I couldn't. It was to sour to taste anything. I won't do that again.
After mixing that, I added four more parts water.
It almost felt like summer again.
I composted the pulp, seeds and peels but I got to thinking that I could probably have actually used them too. I could have used the zest - although that is a lot of zest and I don't know how to preserve it - or I could have boiled the peels with some spices to scent and humidify the air. Do you have any other ideas of ways I could have used them?
Thursday, January 27, 2011
Felt Valentines for Boys
I found these beautiful Valentine hair clips and will be making some of these for the little girls in my life. 
I really wanted to do do something for the boys that would be similar. This is what I came up with:
Fun right? First I drew a pattern that was football shaped and one that was a circle.

I cut them out.

I used the shapes as a template and cut six football shapes out of brown felt, six circles from orange felt and six circles from white felt.

I found white embroidery floss for the football stitching, red for the baseball stitching and brown for the basketball lines. I really would have used black for the basketball but I didn't have any on hand and who wants to go to the store when there is a project that can be done?

I stitched lines on the baseball as shown.

I doubled back to fill in the holes. I make the stitches across as I went.


I used a double strand of red on the three of each of the colors. -- they may be boys but it is still a valentine... These will be the back side.

I matched a ball front with a heart back and stitched them together with embroidery floss that matched the color of the ball. Be sure to leave about a half inch gap unsewn on the bottom in the center for the pencil.

Do stitching on the footballs and the basketballs in the same manner and you get...


I really wanted to do do something for the boys that would be similar. This is what I came up with:
Fun right? First I drew a pattern that was football shaped and one that was a circle.
I cut them out.
I used the shapes as a template and cut six football shapes out of brown felt, six circles from orange felt and six circles from white felt.
I found white embroidery floss for the football stitching, red for the baseball stitching and brown for the basketball lines. I really would have used black for the basketball but I didn't have any on hand and who wants to go to the store when there is a project that can be done?
I stitched lines on the baseball as shown.
I doubled back to fill in the holes. I make the stitches across as I went.
I used a double strand of red on the three of each of the colors. -- they may be boys but it is still a valentine... These will be the back side.
I matched a ball front with a heart back and stitched them together with embroidery floss that matched the color of the ball. Be sure to leave about a half inch gap unsewn on the bottom in the center for the pencil.
Do stitching on the footballs and the basketballs in the same manner and you get...
Friday, January 14, 2011
Making Pasta
I make my own pasta. This is how I do it:
To make two pounds of pasta I put 3/4 cups of wheat flour and 3 1/4 cups of white flour together on my (washed) counter in a pile. I then make a large well in the center and crack six eggs in it.
Mix it all together with a clean fork. If it's too dry, I add a little water.
Knead it until it is smooth. I seperate my dough into several balls and knead them individually because I think it works better and then it's already sectioned off when it comes time to roll it.
I put all the dough in the gallon size Ziploc bag that I intend to store my dried pasta in. Make sure to get as much air out of the bag as possible. It dries out fairly quickly.
Let it rest for 20 minutes. I use an Imperia pasta roller to roll it and cut it.
If you don't have a pasta roller, you just need to roll your dough on a floured surface with a rolling pin and then cut it with a knife. The trick is to get the dough thin enough. We're talking paper thin here.
I flatten one of the balls a bit with my hands. (Keep the other balls of dough covered tightly in the bag.) I put some flour on it to keep it from sticking to the roller and roll on the biggest setting. I make sure there is enough flour on the dough and roll it through again. I only roll it on every other setting to save time and it works fine. I usually cut the sheet of pasta at some point during the rolling because it gets longer than I like to work with.

When it's all rolled out to the thinnest setting I run it through the alfredo or spaghetti attachment.

I boil half of it for three or four minutes. Fresh pasta takes less time to cook than store bought dried pasta.

The other half I hang to dry like this:
until I get - or make - something like this:
Hey, if we're dreaming...or this:

The last one actually reminds me of the Ikea towel rack That might work really well to hang in my pantry. It would fold up neat and tidy when I'm not using and no one would even know I was drying pasta in my pantry. It would be my little secret...
I need your help. I am looking for a really good marinara/spaghetti sauce recipe from any of you. I will hopefully have lots and lots of tomatoes this summer from my garden and would love to make my own sauce. The problem is that I have yet to find a homemade sauce my family likes. I'm calling for all recipes from far and wide. I'll try them all until I find the one we are looking for!
To make two pounds of pasta I put 3/4 cups of wheat flour and 3 1/4 cups of white flour together on my (washed) counter in a pile. I then make a large well in the center and crack six eggs in it.
Mix it all together with a clean fork. If it's too dry, I add a little water.
Knead it until it is smooth. I seperate my dough into several balls and knead them individually because I think it works better and then it's already sectioned off when it comes time to roll it.
I put all the dough in the gallon size Ziploc bag that I intend to store my dried pasta in. Make sure to get as much air out of the bag as possible. It dries out fairly quickly.
Let it rest for 20 minutes. I use an Imperia pasta roller to roll it and cut it.
If you don't have a pasta roller, you just need to roll your dough on a floured surface with a rolling pin and then cut it with a knife. The trick is to get the dough thin enough. We're talking paper thin here.
I flatten one of the balls a bit with my hands. (Keep the other balls of dough covered tightly in the bag.) I put some flour on it to keep it from sticking to the roller and roll on the biggest setting. I make sure there is enough flour on the dough and roll it through again. I only roll it on every other setting to save time and it works fine. I usually cut the sheet of pasta at some point during the rolling because it gets longer than I like to work with.
When it's all rolled out to the thinnest setting I run it through the alfredo or spaghetti attachment.
I boil half of it for three or four minutes. Fresh pasta takes less time to cook than store bought dried pasta.
The other half I hang to dry like this:
until I get - or make - something like this:


The last one actually reminds me of the Ikea towel rack That might work really well to hang in my pantry. It would fold up neat and tidy when I'm not using and no one would even know I was drying pasta in my pantry. It would be my little secret...
I need your help. I am looking for a really good marinara/spaghetti sauce recipe from any of you. I will hopefully have lots and lots of tomatoes this summer from my garden and would love to make my own sauce. The problem is that I have yet to find a homemade sauce my family likes. I'm calling for all recipes from far and wide. I'll try them all until I find the one we are looking for!
Tuesday, January 4, 2011
How to Change a Summer T-shirt into a Winter T-shirt
We moved out of our old house in the summer. We were supposed to be between houses for a month. We had everything that wasn't neccessary put into storage. This included all the kid's winter clothes. You know how house buying goes. Summer turned to fall and we had a few really cold days - light snow even. My kids were still in shorts! We had plenty of winter clothes for them but they were in the very back of the storage unit. To help tide us over, I added a second sleeve under a t-shirt. At least the kid had sleeves now! 
The shirt on the left is a shirt that had enough stains on it that we wouldn't be using it again. The sleeves aren't as noticable for stains and I also figured that if they were white, they would end out looking like that after one wear on this little boy anyway. The shirt on the right is the shirt I was enhancing.
I traced another sleeve, matching the hem of the sleeve to the hem of the shirt so that I wouldn't have to hem the new sleeve. (The sewing machine was also in the storage unit so the less sewing I had to do, the easier.) I also made sure that the top of the sleeve was similar to the top of the sleeve already on the shirt so it wouldn't be bunchy.
I flipped the "pattern sleeve" over and traced the other side. Now I have this ready to cut out. I cut through both layers so I had two sleeve pieces.
I matched right sides together on each sleeve and handsewed the side together. If I had a sewing machine, I would have used that.
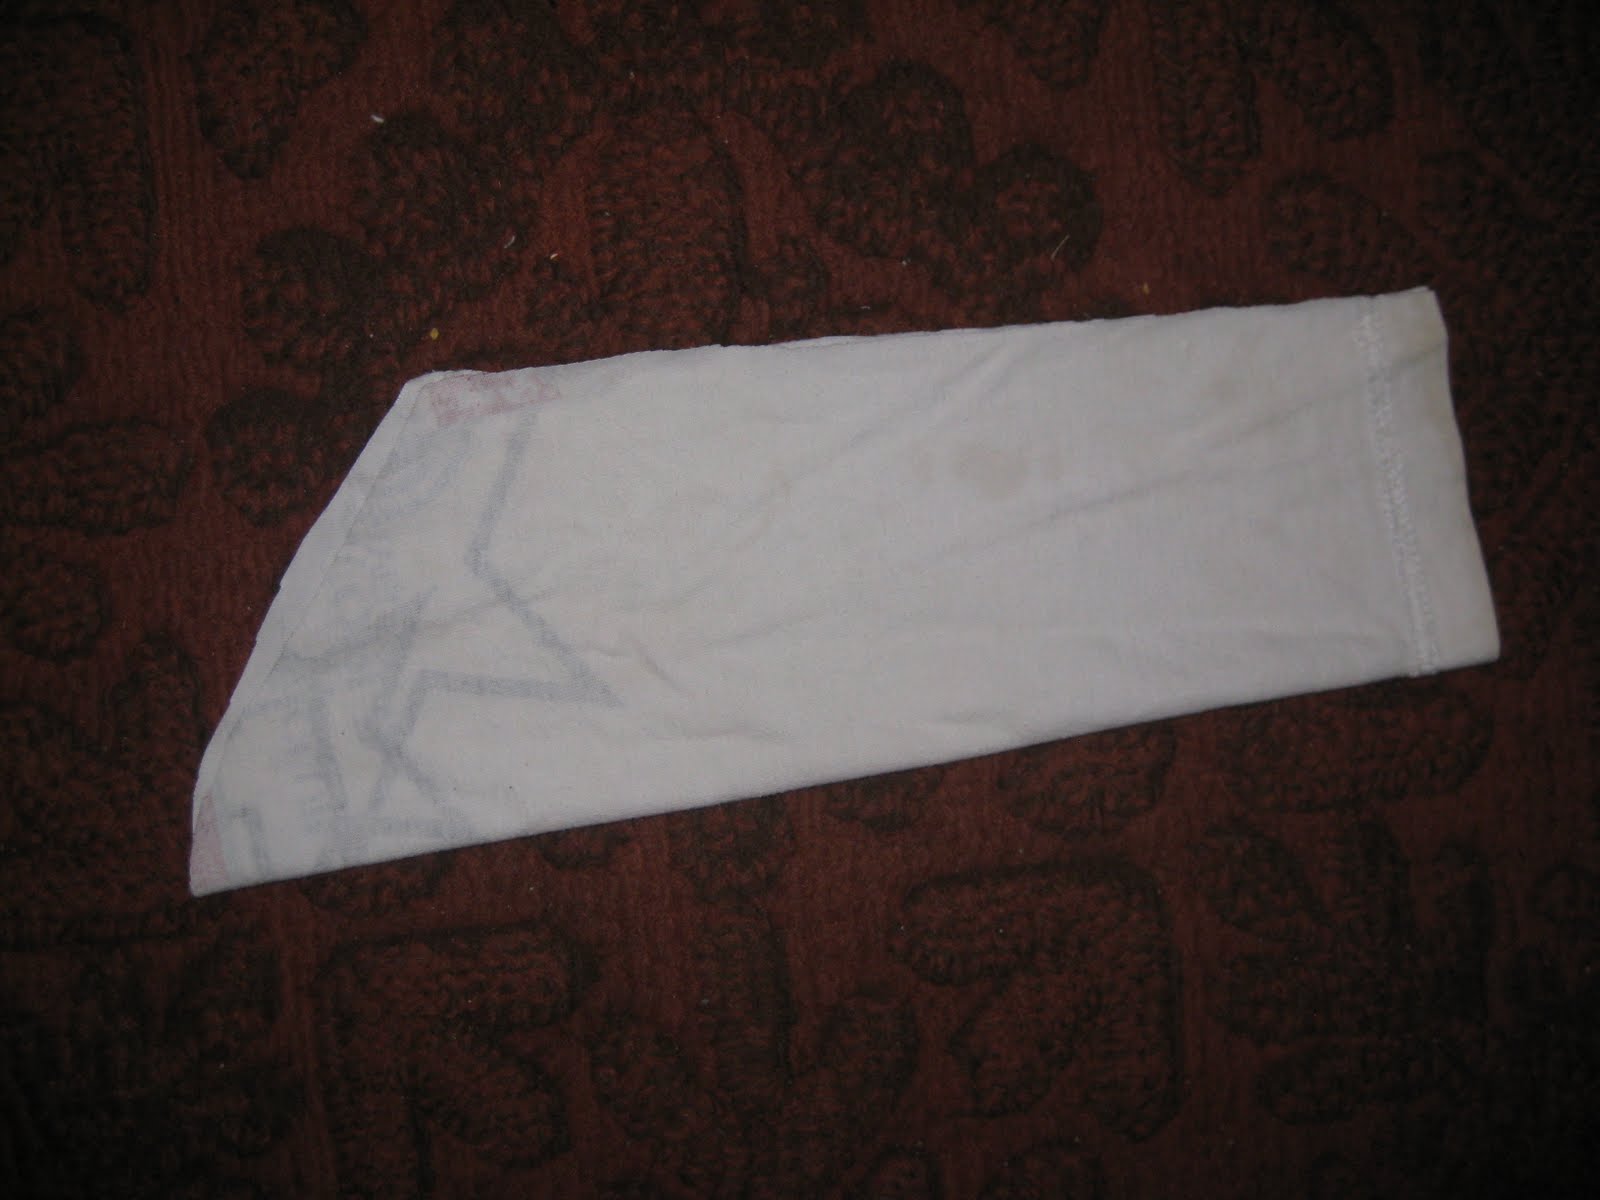
You will notice that this sleeve has some of the print on it from the original shirt. I made sure that it would be covered by the sleeve of the summer shirt.
I kept the sleeve inside out and slipped it onto the shirt that was also inside out. I matched the edge of the white sleeve with the serging on the shirt sleeve. I made sure the seams that run down the arm matched and sewed the white sleeve to the serging.
That's it! I think it looks nice and I didn't feel like my kid was dressed for the beach in the snow. He didn't care but I did.
The shirt on the left is a shirt that had enough stains on it that we wouldn't be using it again. The sleeves aren't as noticable for stains and I also figured that if they were white, they would end out looking like that after one wear on this little boy anyway. The shirt on the right is the shirt I was enhancing.
Subscribe to:
Posts (Atom)